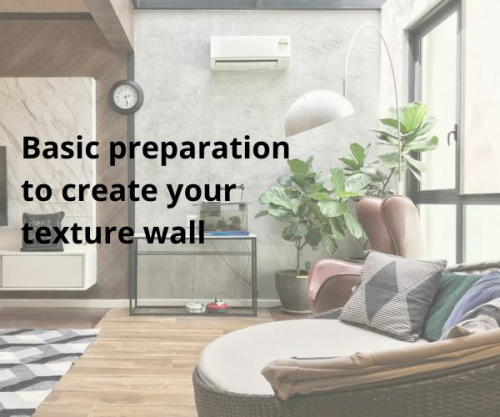

Applying decorative lime-based plaster is one of those final jobs in your renovation projects. best of the. We understand that it is a complicated task that is usually best left to professional painters. But anyone can do it themself if they strictly adhere to key guidelines.
An essential part is to keep your space ready for the lime plastering; you can help yourself to save some time and get the finished work on time. Otherwise, it can mean the road to disaster because failing to prepare is preparing to fail. Now, let’s take a look at on basic preparation for creating your texture wall. Below will be our complete guidance on the correct ways to prepare your job application. Enjoy and have fun!

Step 1: Ready your lime-based plaster, application tools, and equipment

We have heard many say it doesn’t matter what plaster and what application tools you use. They’re wrong in saying so because it’s essential to bother with the bits before you start out. These are those things that will affect your results the most.
Anyone new to this kind of plastering. They might be forgiven for thinking they don’t need a good quality of lime plaster to start with. But people with experience will ensure they prepare a really smooth and excellent quality of lime-based plaster. In the first place, it will spread evenly and effortlessly on the wall. In this regard, Macoavell lime-based plasters have always been painters’ preference.


Further, it is best to prepare the right tools, which are best suited to the type of lime-based plaster you have chosen. For those who are dealing with decorative plasters that create matte and glossy finishes (ex, Macoavell Vellma and Vellplas), we highly recommend you to start out with a decent trowel to achieve the perfect flat and smoothen textures. Example, 3M Marmorino trowel. On the contrary, we suggest a rather affordable trowel to apply decorative plaster that creates a rough finish (ex, Macoavell Vellcco).
Step 2: Start with clean tools

Cleanliness is the key to a perfect finish. Make sure you don’t overlook this requirement because dirty tools will ruin your texture finish! This is important to prevent contamination on your textured wall. Imagine how the wall is set with stains, you wouldn’t want it to happen. In addition, leftover on your tool due to previous works will highly affect the ability of your lime plaster to stick to the wall. Or, it could potentially lead to the existence of chunks, pulls, or drags on your plaster finish. Thus, before you start any application job, it is safe to double-check check all the tools are free of spots.
Step 3: Cover your floor well before starting the Application

Application of decorative plaster can get messy for those who are new to this, so you’re advised to cover your floor properly with plastic or canvas sheets, forming a protective covering for your floor. Later, just throw it away conveniently without worrying about the hassle of cleaning the floor. Cheers to less cleaning up job, yeah! Warning: while we appreciate the fact that lime-based plaster is very durable, but also take notice that it is hard to clean off.
Step 4: Masking The Wall Borders For a Flawless Finish

Tape the areas you want to protect, for example, to protect a ceiling from lime-based plaster, apply the tape to the ceiling where the ceiling and wall meet. Even though it is pretty time-consuming to do taping, it’s important for protecting surfaces and ensuring sharp lines and straight edges. To make sure the tape sticks tightly, take a damp cloth and wipe away dirt beforehand. After you finish applying tape, make sure you use your fingers to press down the edge so that it is properly sealed.
Step 5: Check your wall – Surface preparation Get


Get your wall surface ready for application of decorative lime-based plaster so that plaster will adhere securely to your wall. Be sure the wall is free of moisture, dust, and oil. Do scraping if there are peelings. If there are hairline cracks, put stopping or it could mean trouble in the future.
For uneven surfaces, just leave it the way it is because one of the advantages of textured paints is to cover up imperfections, effective in dealing with flaws. For instance, covering over an ugly or uneven surface to create the impression of a three-dimensional surface. Preparing your surface properly in advance is an important part of a perfect texture finish.
Step 6: No primer needed to apply Macoavell decorative lime plaster except in rare circumstances


