
MACOAVELL JOURNAL · VELLCCO MA01
Vellcco MA01 Pitted Effect: Texture, Light and Interior Detail
A wall finish can feel quiet from across a room and reveal much more character at close range. This Vellcco MA01 pitted effect demonstrates that difference: a broad, restrained surface in the full-wall view, with small irregular recesses and varied texture in the close-ups.
16 October 2026 · By MacoAvell
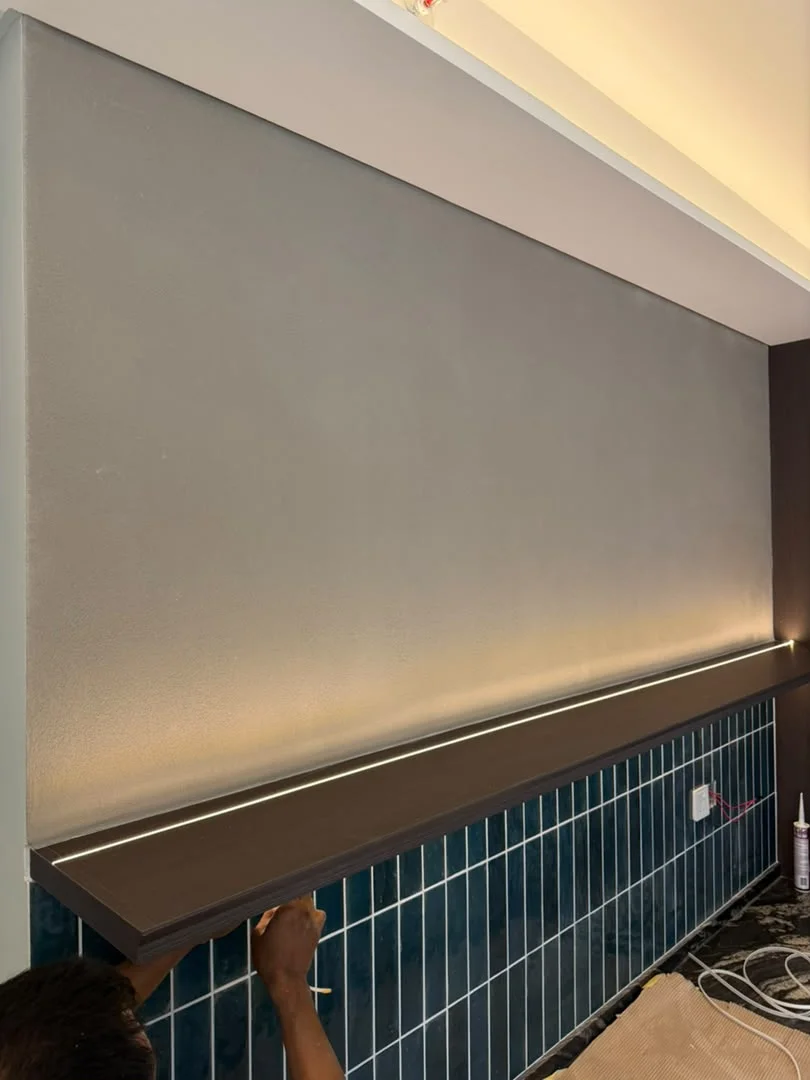
Finish in focus: Vellcco · MA01 · Pitted effect
Paired with a dark horizontal ledge, blue vertical tiles and warm linear lighting, the finish becomes part of a considered material composition. These five photographs offer useful references for architects, interior designers and homeowners exploring how decorative texture reads within a space. The wider view records the wall during interior works.
What gives this pitted effect its character?
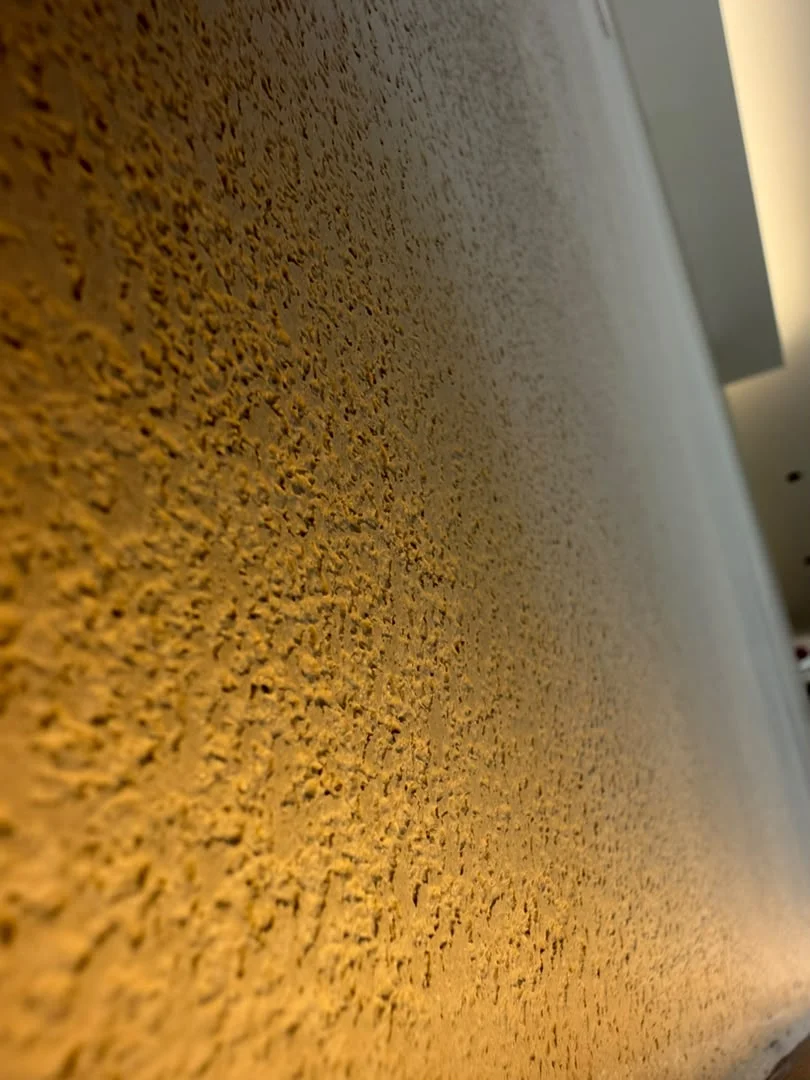
Vellcco Decorative Stucco is a textured plaster used for stone-inspired decorative effects. The application technique and level of relief influence the final appearance. In this MA01 example, the pitted effect creates numerous small recesses, with irregular marks distributed across the surface.
The close-ups show variation rather than a repeated graphic pattern. There is plenty to explore nearby, without relying on a strong colour contrast across the wall. When discussing a similar finish, use the product and colour reference together with an approved texture sample: MA01 alone does not describe the full surface effect.
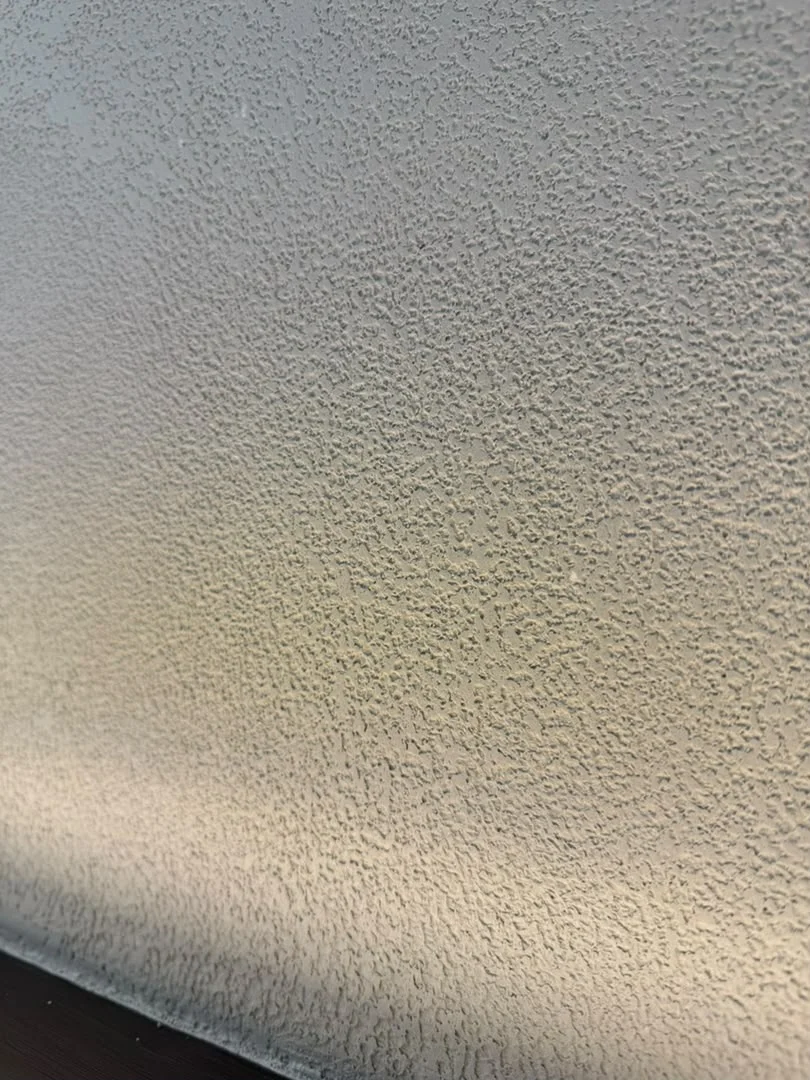
Compare the close-up with the full wall
The detail photographs make the pits and raised areas prominent. In the wider view, those same features merge into a softer overall impression. The wall reads first as a large surface above the ledge; its finer texture becomes apparent as the viewer approaches.
Both perspectives matter when choosing a finish. A close-up communicates the surface character, while a larger sample or trial area helps assess its visual weight. Review the finish from the room’s usual viewing positions, then move closer. This is especially useful when a wall will sit behind furniture or beside a circulation route.
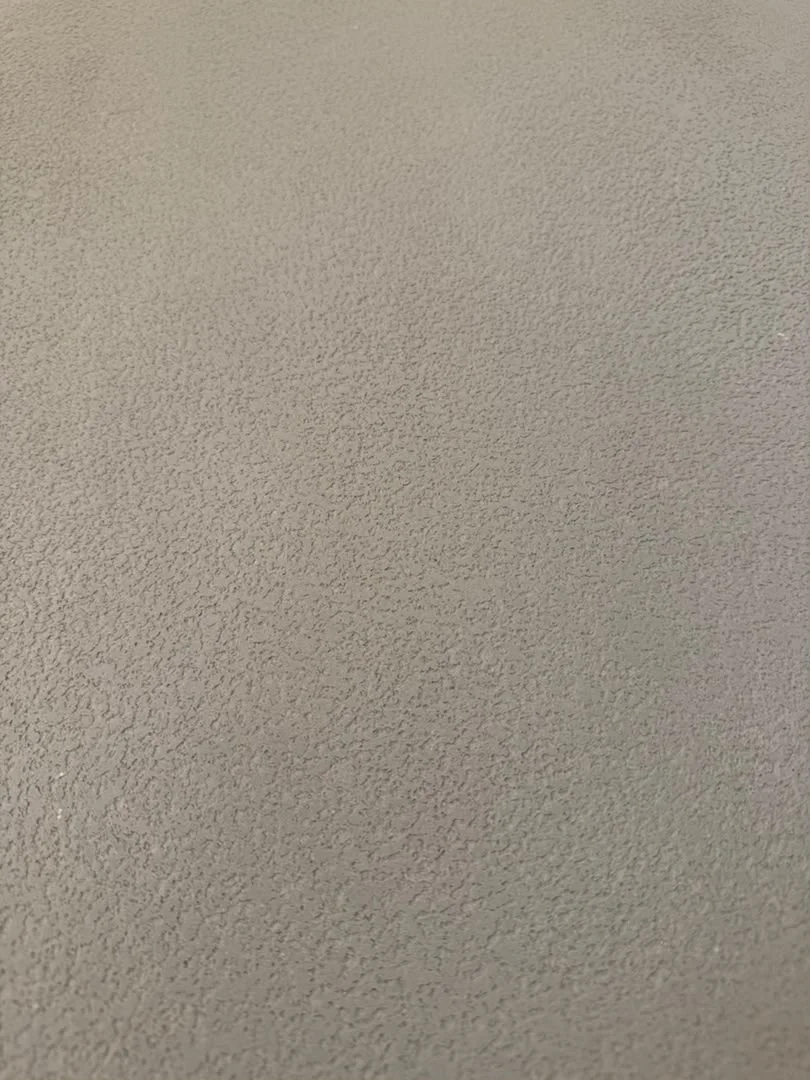
Let lighting reveal the texture
A narrow strip of warm light runs along the dark ledge. In the closer views, light travelling across the wall catches raised areas and casts small shadows within the texture. The angled photographs make this change in depth and contrast especially clear.
Review the finish and its lighting together. Test the proposed lighting position and brightness against a sample, then compare the result with the room’s other lights switched on. Use the photographs for texture inspiration and confirm MA01 with a physical colour sample, since lighting, camera settings and screens affect its appearance.
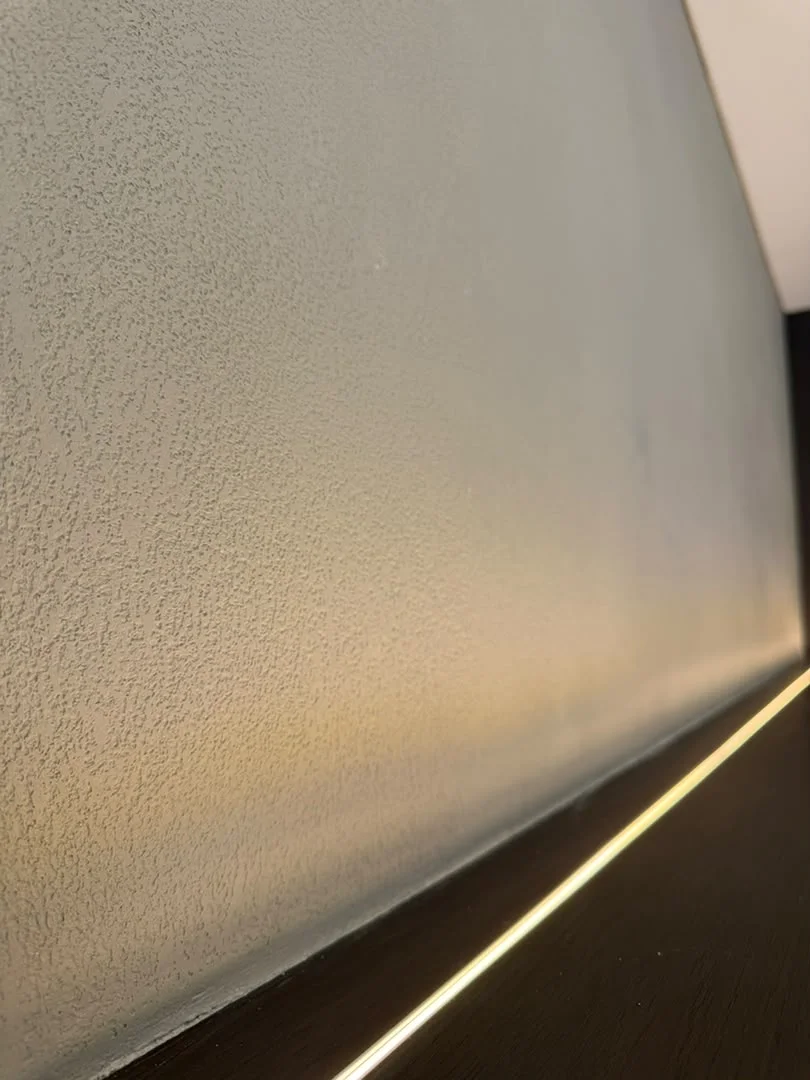
Balance the wall with neighbouring materials
Below the plaster, the blue tiles introduce a regular vertical rhythm. Their pale joints form a clear grid, while the pitted surface above has a more irregular character. The dark ledge provides a strong horizontal division between the two.
For a similar design approach, compare the materials together rather than approving each in isolation. Place the plaster sample beside the actual tile, grout and ledge finishes. Decide which element should attract attention first. The wider photograph offers an example of distinct surfaces sharing a wall while the texture remains relatively understated at a distance.
Include edges and installation details
The full-wall photograph was taken during interior works, with a person working near the ledge and equipment visible below. It records the relationship between the textured panel, the upper white section, the dark side panel and the tiled area.
Include these boundaries in the finish brief. Identify where the plaster stops, how it meets the ledge and how corners or adjoining materials will be treated. Where a linear light sits close to the surface, include that junction in the sample review so the wall, edge and light can be assessed together.
Approve colour, texture and finishing treatment together
A useful approval sample represents more than colour. It should show the intended pit size and distribution, the overall relief and the appearance of any specified topcoat. View it under lighting representative of the finished room.
For a Vellcco MA01 pitted effect, share these photographs and identify which view best expresses your preferred result. MacoAvell can discuss the finish direction and sample requirements for your space. Bring room photographs, approximate wall dimensions and details of the existing surface to the conversation.
Frequently asked questions
Will a pitted finish look very rough from across the room?
Its visual strength depends on the texture, viewing distance and lighting. In this example, the full wall appears quieter than the close-ups. Review a representative sample both nearby and from the distance at which the wall will normally be seen.
Does MA01 always look as warm as these photographs?
The photographs include warm lighting, which affects the recorded appearance. Camera settings and screens also influence colour. Confirm MA01 using a physical sample under the lighting planned for your space.
What should I request to achieve this effect?
Ask for Vellcco MA01 with a pitted effect and provide a reference image. Discuss the preferred texture depth and distribution, surrounding materials, lighting and any specified topcoat, then approve a sample before proceeding.
Explore Vellcco MA01 for your space
Start with the Vellcco product page or request a sample. Share your wall area, project location and preferred texture with MacoAvell to discuss the next steps.